Which devices make it easier to enjoy all the benefits of your online piano lessons? In today’s world of technology we have many options. What are the options? Do you have a device at home that will work? It’s very possible! Do you need to make an investment in tools that will provide the maximum results you need to experience in your lessons? You definitely want a simple solution but also an effective one! Having the right online tools makes all the difference in a positive online lesson experience!!
Option 1 – Using the Computer with and without a webcam
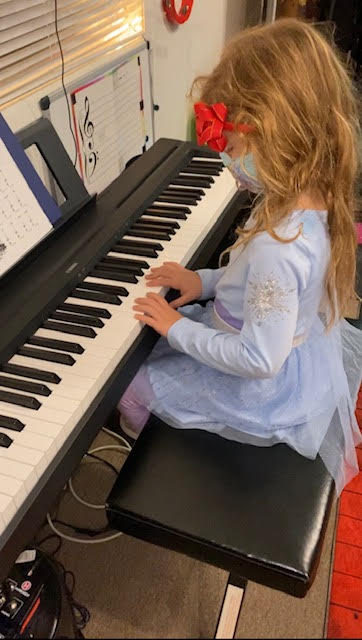
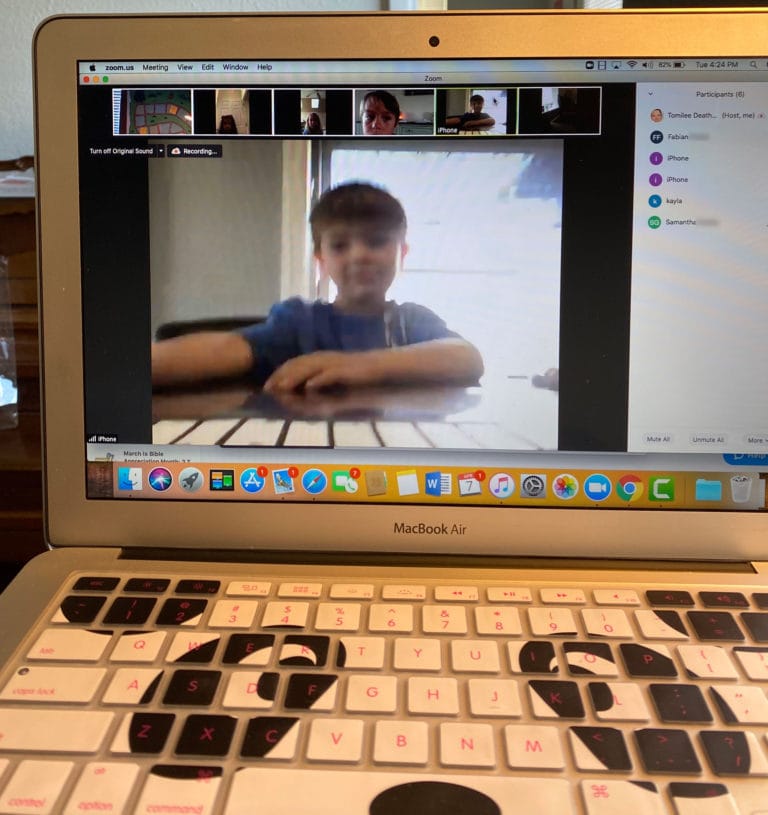
You can use your computer if it has an internal webcam. Most computers have them. This is the easiest way to get started. However, the computer needs to be positioned at the end of the keyboard so that it is getting a side view of the student and keyboard. (See the featured image) This can be totally sufficient by itself but can also be difficult to see exactly what the student is playing without a camera over the keyboard. On a side note the annotation tools are easier to use with the computer as well. (Tools needed: Computer with internal webcam only)
Option 2 – Adding a external webcam with the computer
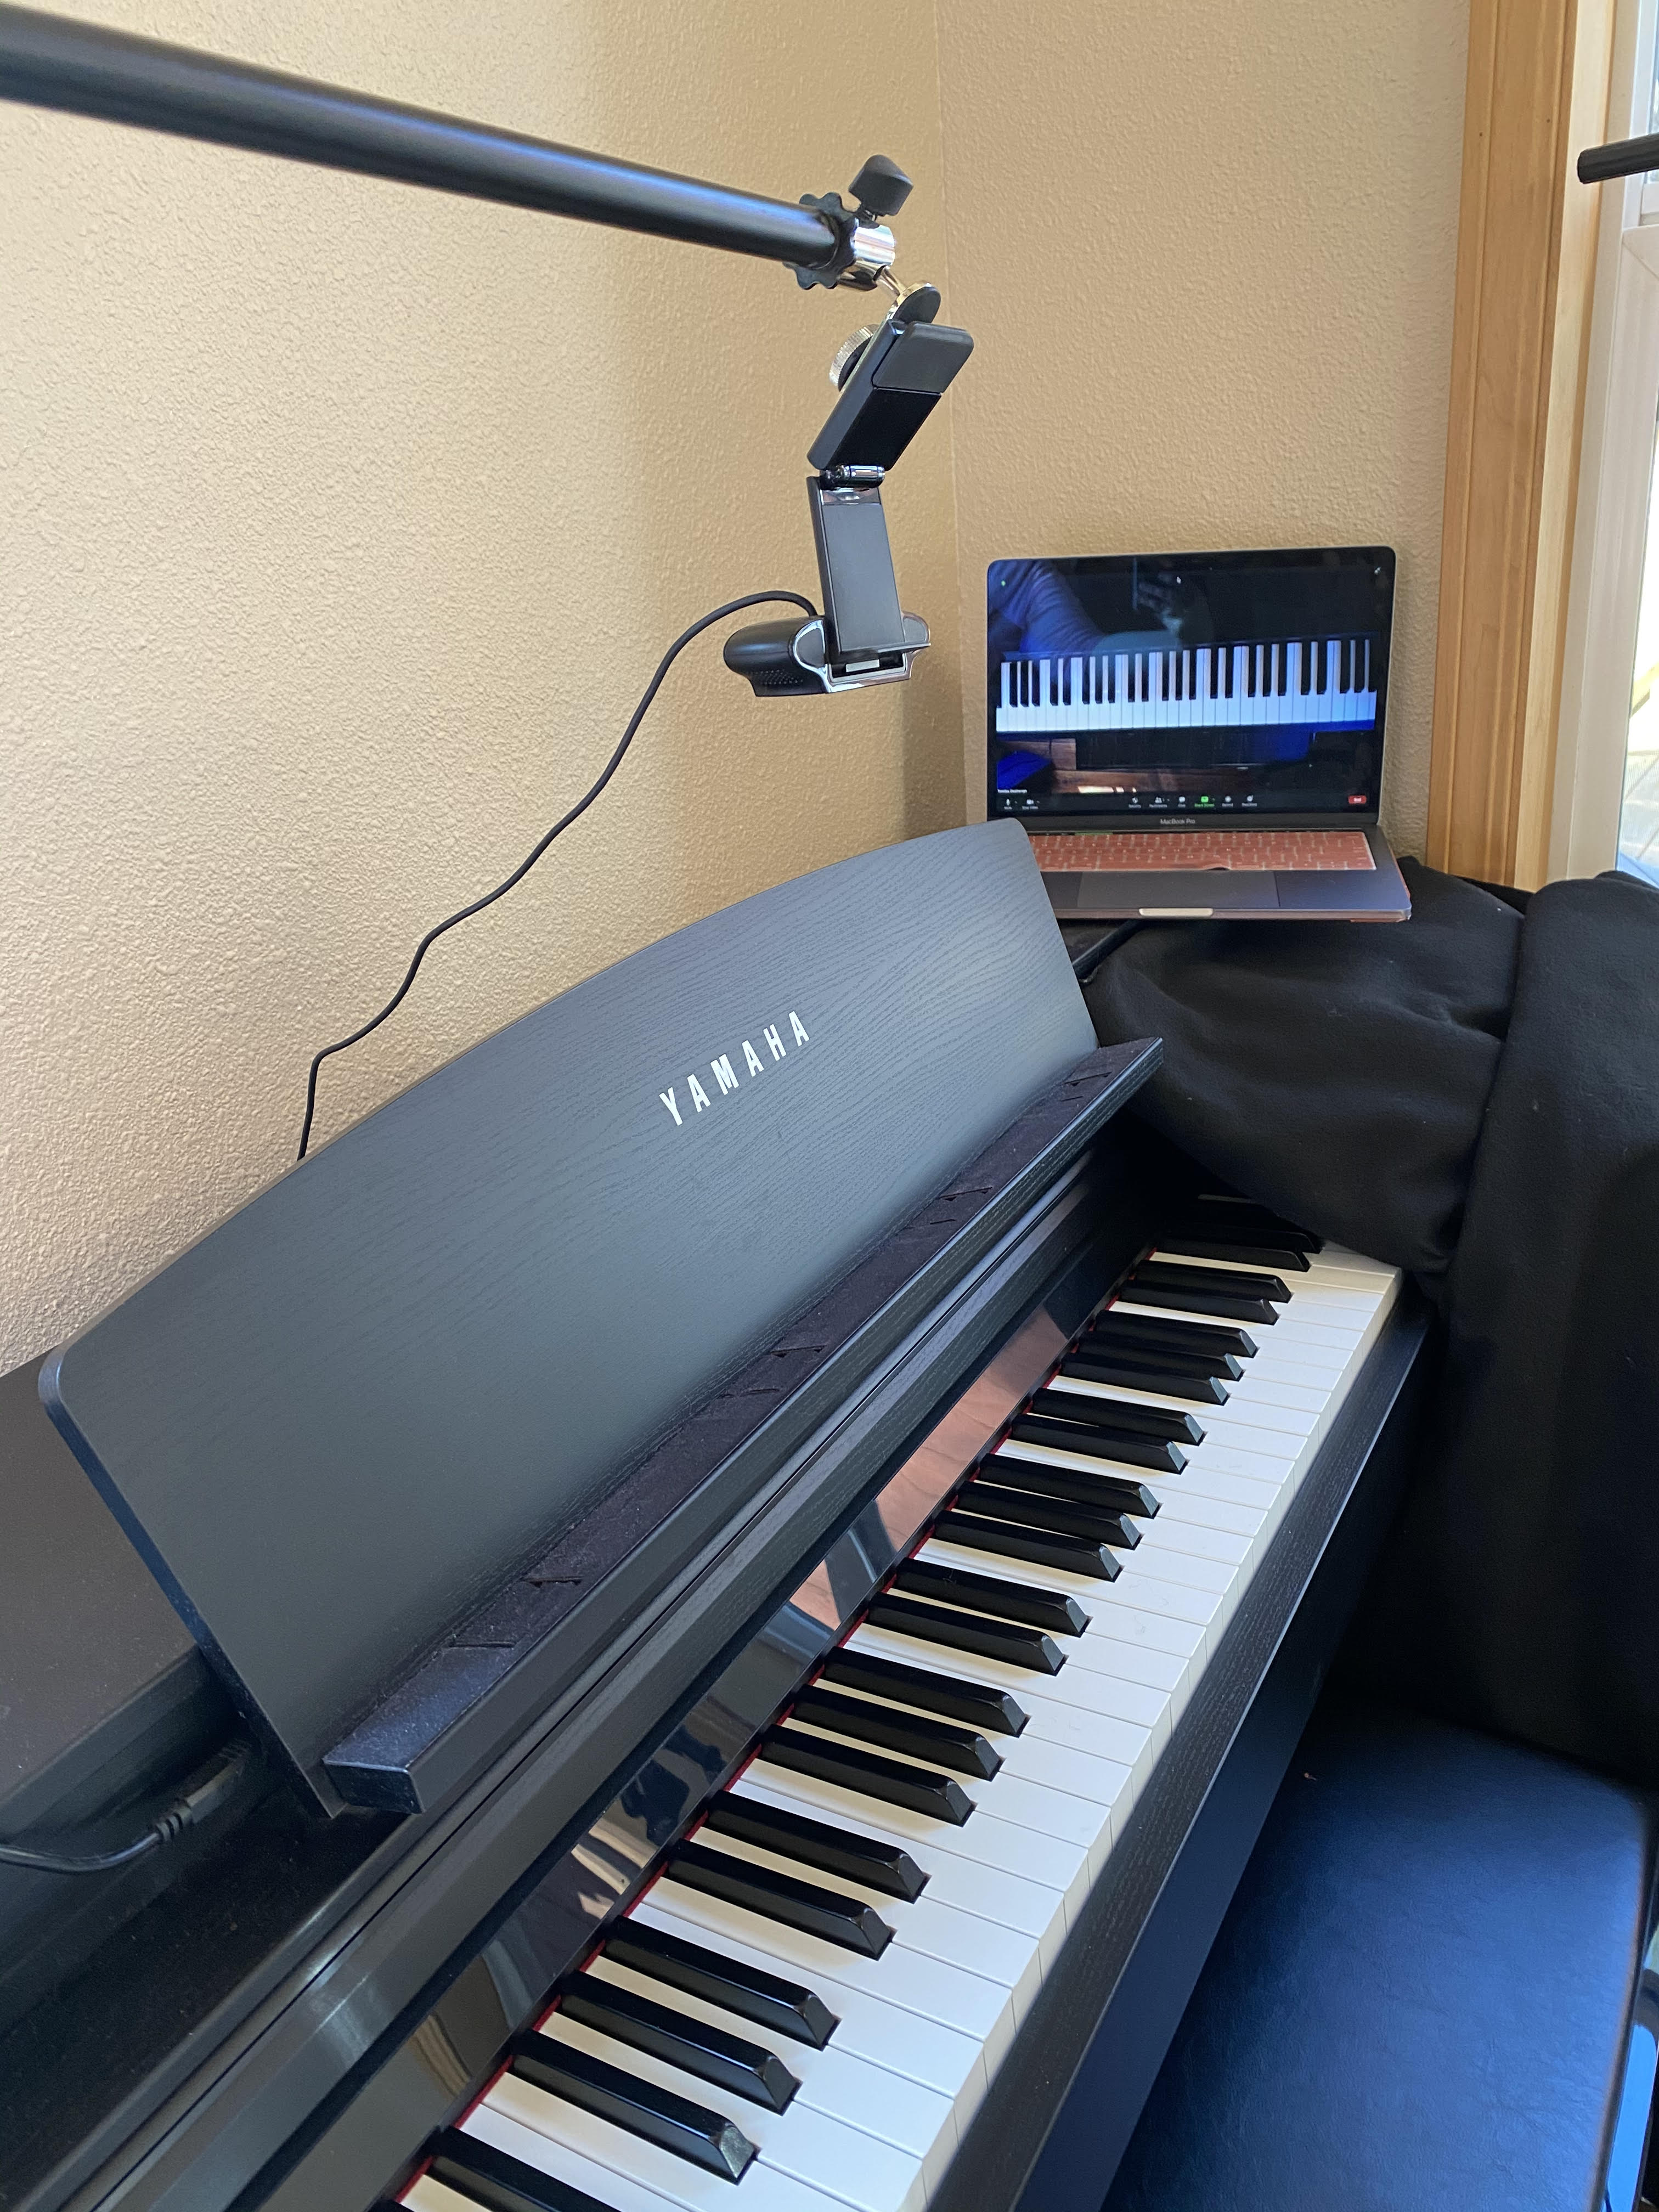
You can even purchase an external webcam to plug into your computer for an over the keys view of the student playing. You will need a boom stand and a clip to attach the webcam to the boom stand. This offers the student the ability to switch between 2 cameras. The computer’s internal webcam will show the student and the webcam would show their hands playing the keyboard. (Tools needed: Computer with internal webcam, an external webcam, boom stand, and clip attachment. Click on bolded links above to order or view on Amazon)
Option 3 – Using only an iPad- My Favorite!
Do you have an iPad? IPads are great for their mobility and visibility. You can mount it to a tripod making it easy to have a view of the keys or adjust it back to the view of the student. We often use the Zoom annotation tools during lessons. These tools can be accessed easily on the iPad. Click on the red link above to order the tripod if you are using an iPad. (Tools needed: iPad, tripod, little attachment gadget.
Option 4 – Using a Phone
A phone is not ideal but can be used for online lessons. You can not hear as well due to the small speakers and the screen view is so small it makes it difficult to view what is being shared. This works in a pinch or if you are on the road or it’s the only device you have but should be the last option. You can prop it up at the end of your keyboard which is not really the best way. You can also get a boom stand with a clip for a close up view over the keyboard. However, the tripod positioned at the end of your piano is your best option to see the student and the piano. It can be positioned and maneuvered the easiest. Click on the red link above for the best option if you are using a phone. (Tools needed: phone, boom stand and clip or tripod.)
Important note:
Now the choice is yours! It can be simple but effective. Your set up will make all the difference in a smooth, effective online lesson experience! So please order your tools. Find the just right location in your home that is free from distraction. The teacher and student should not be hearing other family members in the background. Students ages 5-7 should have a parent in the same room to assist. You will also want to make sure that you have high speed internet. This is crucial! Then set up your tools and enjoy your lesson experience! Be sure you are logged onto Zoom and are all set up 5-10 minutes before the lesson begins. We can’t wait for you to get started!